Friday, July 2, 2010

A Tutorial: Freezing Veggies

Do you ever have veggies that just sit in the fridge until they are inedible? I think that happens when you just have too many (or not enough time to cook it all). Sometimes when we come back from the farmers market, we have veggies left over. We eat some of them, but when there are too many to eat we usually freeze them to stock up for the winter. We also freeze or can a bumper crop of any one item and, to make sure our winter is full of variety, we freeze and can the final harvest of all kinds of veggies. I think more people would do this if they knew just how easy and fast it can be - so this entry is a step-by-step tutorial for how to freeze greens and tomatoes. Shall we get started?

The Tools

From left to right: A large pot of boiling water, freezer bags, tongs, a large spoon, a ladel, and canning tongs (we won't use those this time since we are just freezing).

Tip: We like to use the quart size freezer bags so that we have individual meal sized servings. Having to thaw large portions just to get a serving size can be difficult. We get 2 - 3 servings from one quart size freezer bag.

You also need a second large pot or bowl filled with ice water close by.

Greens: The following process will work for any cooking greens. (Spinach, Kale, Chard, Bok Choi, etc.)

The greens need to be blanched before they go into the freezer. Blanching is when you boil the vegetable for an allotted amount of time and then immediately dunk it in cold water. Boiling the greens kills the active enzymes that are constantly decomposing the plant matter, if you were to just put them straight into the freezer, they would spoil even at the very low freezing temperatures. Dunking them in cold water immediately stops the cooking process.


Preparing the Greens

For kale, we take the leaves off of the tough stems.

Leaves

Stems (stems go straight into the compost or chicken yard)

Chard stems are delicious to eat so we just chop up the whole bunch into more manageable pieces.

The Process

1. Place leaves into the boiling water.

2. Stir to make sure they are all submerged, cover if it is really full.

3. Boil for 2 minutes.

4. Use the tongs to place immediately into cold water.

5. Strain the greens and fill your freezer bags.

Tip: When filling your bags, let all the air out and flatten the greens inside the bags. This way you can stack them in your freezer and take up as little space as possible.

6. Don't forget to label and include the date!

Greens will be good in your freezer up to 12 months.

That was easy, right? It is a very similar process with lots of green veggies - peas, green beans, and several others. The blanching times vary from 1 - 3 minutes. On to tomatoes!

Tomatoes should be peeled before freezing. The skins don't taste good after being frozen and peeling them will help them store for longer too. All you need to do to prep your tomatoes is take off the stems and wash them.

The Process

1. Drop the tomatoes, whole, into boiling water and let them sit for 2 minutes.


2. Transfer to a large pot or bowl of cold water. Let them sit in the cold water for a few minutes, tomatoes retain heat really well.


3. Peel the skins off and discard. (Feed to chickens or compost! :) )

4. Remove the tough spot from where the stem used to be. It is easiest to just use your hands, but a knife would work too.


5. Ladle the (mostly) whole tomatoes and juice into freezer bags. Just as with the greens, get as much air out as possible and only fill them to the point where they will sit flat.

6. Label and date.

Tip: Labeling is sometimes easier to do BEFORE you fill the bags.

Tomatoes, like greens, will be good in the freezer up to 12 months.

Here is what they look like stacked in the freezer!
We sometimes put 4 or 5 of the smaller bags into larger, gallon sized bags to avoid freezer burn and make it easier to organize.

When you are ready to use your frozen veggies, you can thaw them and cook them exactly how you would if they were raw. Or, you can dump them in to soups or stews frozen and they will thaw as they cook!

I hope this inspires you to start putting some veggies up for the winter. It is a great way to keep from wasting food and to save a lot of money! There is nothing like preparing a meal on a snowy February day and having everything you need right in your freezer.

(By the way, we prepared all of these bags of veggies for freezing in less than one hour.)

Sunday, June 27, 2010

Farm Fest Highlights!

Farm Fest was so much fun! We really enjoyed spending time with everyone who came out. Thank you so much for supporting us and joining us for a wonderful day! Here are a few highlights:

Zaw, who works with Linda at Maret School, and his neighbor Shawn rode their bikes from Silver Spring all the way to the farm. (Yes, the Silver Spring in Montgomery County)

LOVE the sign!
The trip is close to 50 miles!!
We were so excited to see them when they arrived, and it only took them about 3 and a half hours! Incredible! Thanks so much Zaw and Shawn for making the day even more exciting!
Shawn and Mark spent several hours cooking pizzas, in a 500 degree oven, on a 95 degree day. Needless to say it was HOT in that kitchen, but they made some amazing pizza - it was eaten up as fast as they could make it. It included toppings such as basil, pineapple, green pepper, beets, and turnips. Regina, from The Farmer's Daughter (oh so famous for her delicious, and huge, cinnamon rolls) made the whole wheat, rosemary and chive dough for the crust. A few days before Farm Fest, we got to help her knead the dough, it was great fun!


Two of the delicious pizzas with basil and parmesan toppings.

This was a Zero Waste event, so we had glass jars to drink from, cloth napkins, recycling and compost bins. It worked out really well, we had no trash at all at the end of the day!

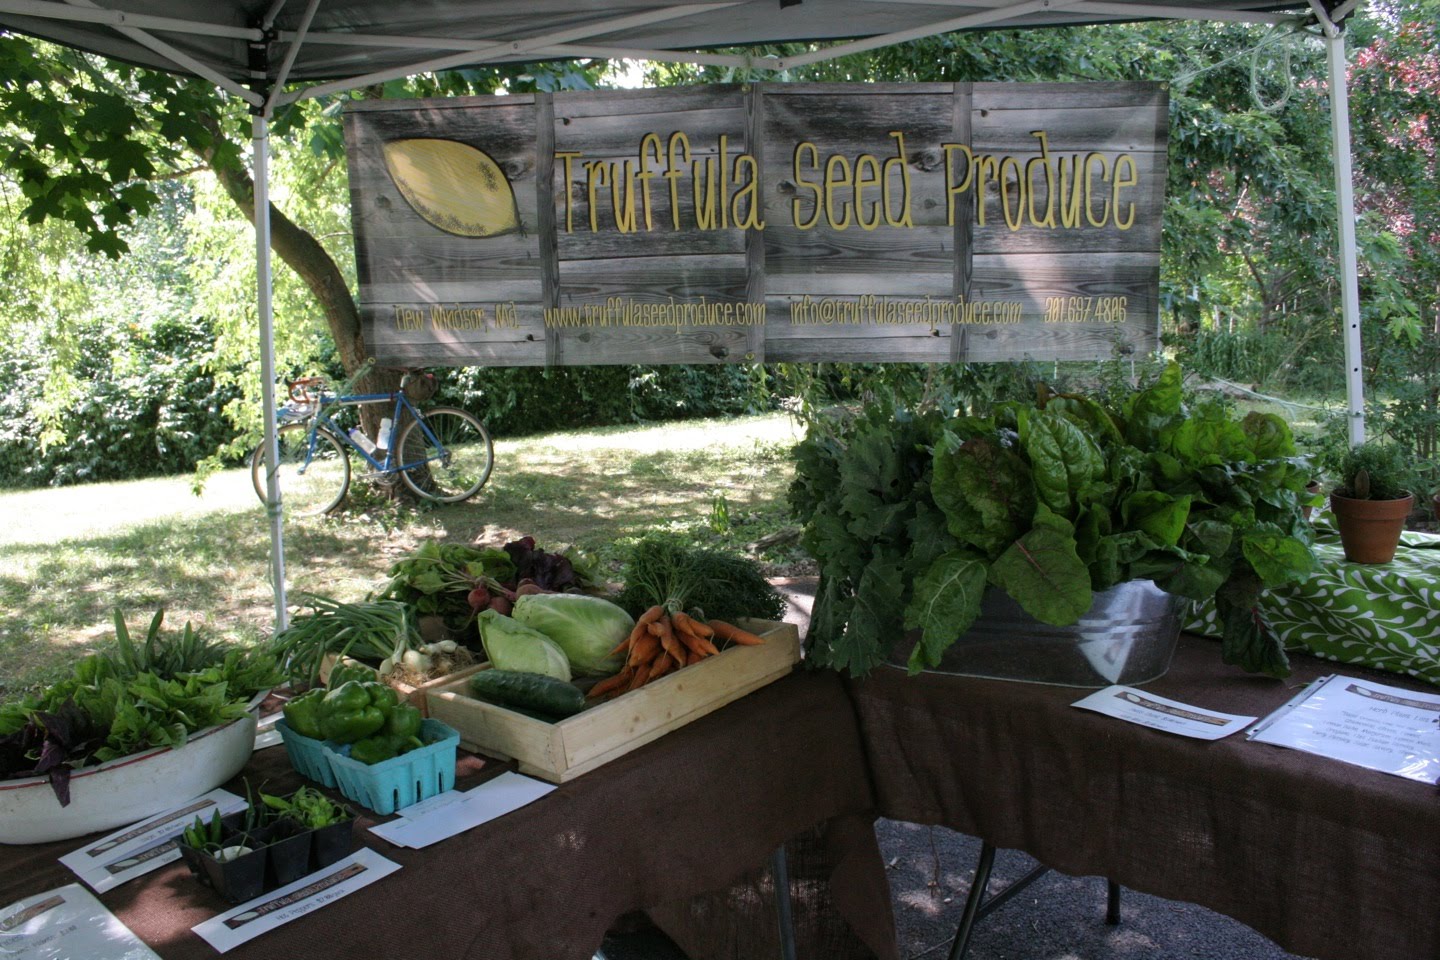
We set up our farm stand and included Linda's new book called "Yellow Bird". The limited first edition is on sale for $18 a copy - let us know if you are interested!! So exciting!

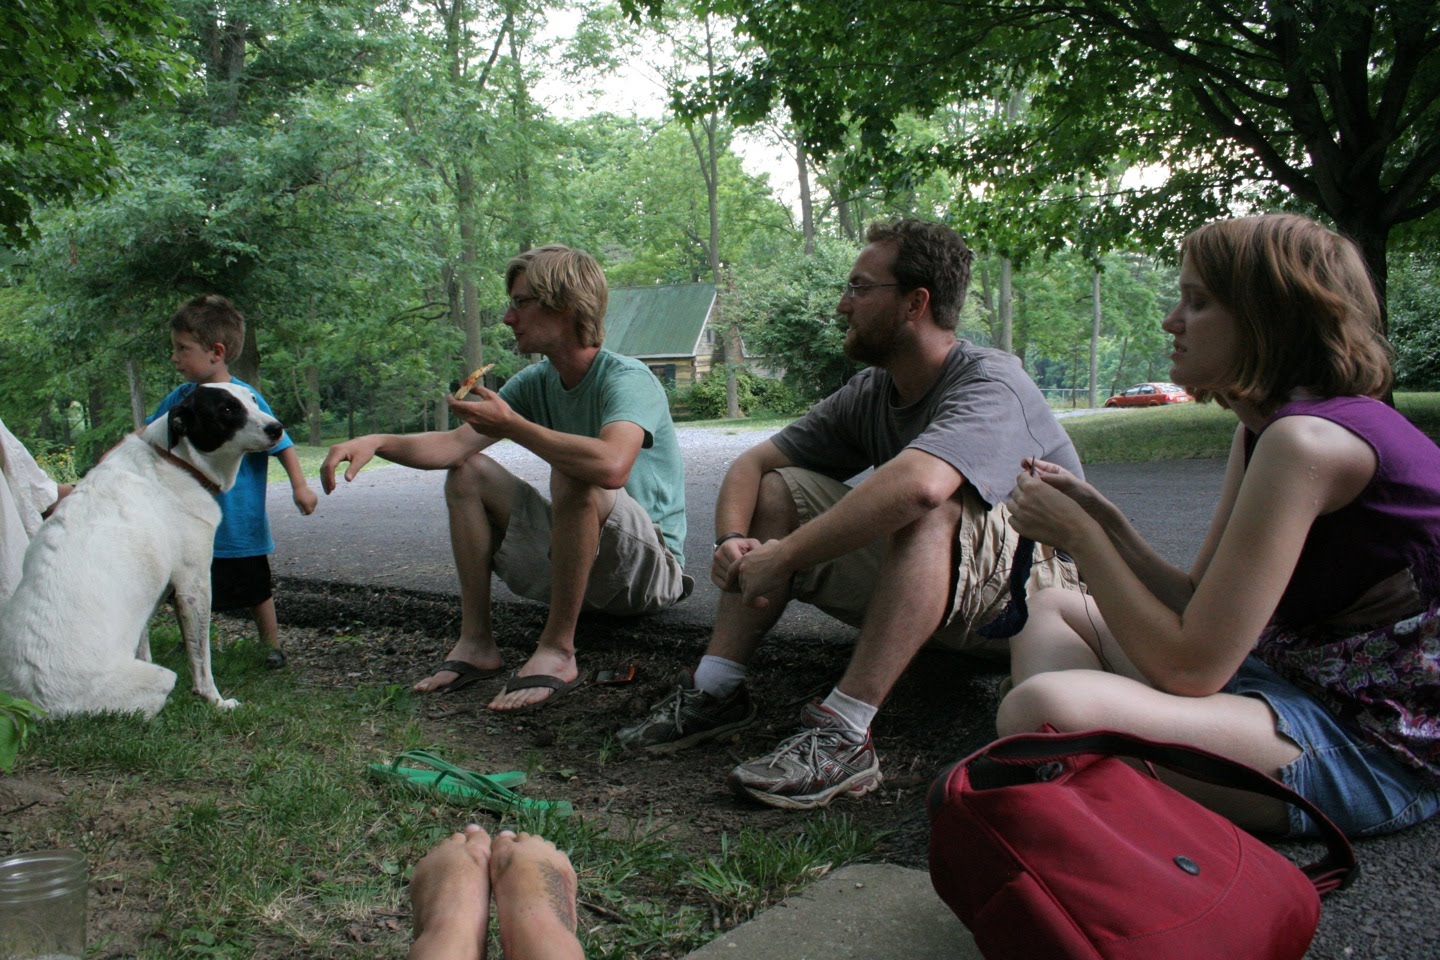
It was a beautiful, but hot, day so many people spent time in the breezy shade overlooking the garden,
or under the oldest black walnut tree watching the kids play on the swing set.


Jack enjoying a cool drink of water.

One of the cutest puppies in the world.
Scott Trexler, who has a stand right next to us at the Westminster market (selling organic chicken, eggs, beef, rose, and pork), brings his lovely puppy with him to market every week. It is great fun to watch her grow! And grow she will, she is half rottweiler and half Saint Bernard...

Here is Regina reading to David, her son, in the shade in front of the farm house.
Smile David!
Some of the many musicians who played at Farm Fest, pictured here are Dave, Joel Hoskins, and Pawpaw. They set up in the workshop and it worked out great! We will have to remember that for the next party.

Thanks again to everyone who came, to Dave and Linda for making it happen and making the property look gorgeous, to Mark for all your help, and Regina for the yummy crust!

Friday, June 25, 2010

No Rain = Watering

It has been a while since a good rain - a long while. Our gardens have been so thirsty and are showing the signs of drought: wilting, stalled growth, crispy edges, etc. The big challenge this month has been how, exactly, to water. Being new farmers, we don't yet have all the supplies of a larger and more established operation. We have some row covers and hoops, we make our own trellises, and we have our beloved high tunnel. What we don't have is a good irrigation system and with the small scale of our farm, it hasn't seemed justifiable to buy one just yet.
On the main property, through a series of creative hose connections, we are able to hand water just about everything. When we are short on time, we set up sprinklers (at night to minimize evaporation and wasted water). The rented lot across the street, however, has no water source and is too far to bring hoses from our place. We have beans, potatoes, and sweet potatoes that are pretty big and cilantro, chard, turnip, onion, squash, pumpkin, and melon seedlings that all desperately need water.
Our solution? Rain barrels.
About a week ago we took on the DIY project of making our own. We had a couple of large plastic barrels on the property and went up to the hardware store to grab $20 worth of plumbing supplies to kick off the project. We drilled holes in the bottom of the barrels and put together a couple of PVC couplings and a spigot. We even made our own gaskets out of a cheap sheet of rubber!
Here is what the spigot looks like attached to the hose:


We filled up the new rain barrels with water and trucked them over to the other property. The gravity feed works best when you can prop the barrels up higher than where you need to water. Luckily the property is sloped and there is just enough room on left-hand side to fit the truck. We do have one set of drip lines (hoses with holes every 6 - 8 inches to leak water directly onto the plants) and we set those up on the turnips while we hand watered the rest.


We were really surprised at the water pressure! We were expecting a trickle, but got a pretty good spray, even when the barrels were close to empty.
This has turned out to be a great solution for many reasons, but the best being that it was so cheap and so easy! It took about 10 minutes to put together once we had all the supplies. Watering takes a really long time, especially by hand, so we are still doing our rain dance but we sure are glad to have a solution to our watering problem.

Monday, June 21, 2010

Producer Only Markets


At the heart of every successful Farmers’ Market is an unspoken understanding between the customers and the vendors; an understanding that the farmers grew the produce that they are selling, the bakers baked their breads, and the ranchers raised their meats. This understanding allows the customer the comfort of knowing that all of the food for sale was grown locally and picked at its peak, and it gives people a chance to meet the folks who grow their food and the opportunity to better understand how they do it. The Farmers’ Market is set apart from the aisles of the grocery store by that shared understanding, and by the sense of community and transparency that it creates.
Of course, if someone wanted to, they could easily exploit that understanding; it could be as simple as buying a dozen different kinds of produce from Sam’s Club, setting up a stand by the side of the road, and putting out a sign that says “Farm Fresh Local Produce.” It’s hard to believe, but that’s exactly what someone did this past Saturday, one block from the Downtown Westminster Farmers Market! All of us farmers and vendors watched in horror as some guy unloaded boxes of produce from the back of his truck, (boxes which, mind you, still bore the name of the international produce distributor from whom he bought them), and sold them to people who I’m sure thought that they were buying locally grown produce.
The good news though is that it’s easy to distinguish between guys like that one and legitimate Farmers’ Markets. Real Farmers’ Markets will usually have a ‘Producer-Only’ policy, which means that the market requires that its vendors sell only what they grow, raise or make on their own farms. All three of the Farmers’ Markets that we sell at – the Downtown Westminster Market, The Westminster Tuesday Market, and The Crossroads Market – have very strict producer only policies. If you are not sure whether the market that you shop at is producer only, just ask the Market manager or a few of the farmers – they’ll be happy to tell you.
In the meantime, for those of you who shop at the Downtown Westminster Market, you might want to avoid the man down the street who is selling watermelons out of the back of his truck – unless of course, you want a watermelon that was picked a few weeks too early and flown here from Vietnam. But if that’s really what you want, you might want to check Sam’s Club instead, I hear that they have a deal on them. Ask the guy with the truck – he can tell you all about it!

Thursday, June 17, 2010

Ahhh Summer...

Our days only get busier as the summer begins and all of our favorite things come together. Warm weather, beets, fireflies, and long days. We have our work cut out for us between the cabbage looper worms, weeds, and three markets but we are loving every minute of it. Yes, even the weeding! (Well, maybe we don't LOVE weeding but it's very satisfying.) We've been having a great time at the markets, Westminster is always fun since we know almost everyone. There is a great customer base and we really enjoy all the people. Crossroads has been great too - meeting other farmers and getting to know a new community has been really nice. Our stand has slowly been growing in quantity and diversity and some of our favorite veggies are starting to come in!
Beets
Tomatoes are one of our absolute favorites, we will have them soon - but not soon enough!Cabbage
Swiss Chard (still can't believe it grows right out of the ground with all those beautiful colors!)
Peas! Yum!
And we can't forget basil. Summer isn't summer without it. We are growing a bunch of different kinds (Thai, Aromato, Red Rubin, Lime, Genovese) and we LOVE to make pesto. And by "we" I mean Shawn. He makes great pesto with whatever ingredients we have available.
Most recently we had pesto made with basil, olive oil, garlic scapes, sunflower seeds, almonds, and salt. It was delicious!


With the purple and green basil mixed it's a nice dark sauce. It tastes extra good after a long day of weeding! Ahhh summer...so glad it's here. :)

Saturday, June 5, 2010

Beautiful Roses and Sage Pizza

Linda has planted several beautiful heritage rose bushes around the property over the years they have lived here. She gave us a beautiful bouquet of large, light pink, fragrant blooms mixed with miniature, dark pink blooms! They were sitting on the kitchen table in the evening light and I couldn't resist a few photos. They are unreal!


That same evening, Shawn went nose to the pizza stone once again. We had some sage leaves from the garden and I made some sage chips (hot oil, drop in leaves, remove when they change color, salt) while I was waiting for the delicious pizza. It's a fun little appetizer and as we were munching on them we decided to try them out ON the pizza.

It was tasty! We added them as a topping right after the cheese and then baked them along with the pizza. If we did it again, I think we would just add them after the pizza came out because they turned out a little soggy - fresh sage 'chips' are crisp and dissolve in your mouth. It still tasted great in spite of the different texture.
In addition to our sage pizza, Shawn made a super thin crust crispy pizza. It was SO good! Before he baked it, the dough was so thin you could almost see right through it.

We will be featuring Shawn and Mark's homemade pizza at our Farm Fest on June 26th! If you are here, you will get to experience their pizza expertise.